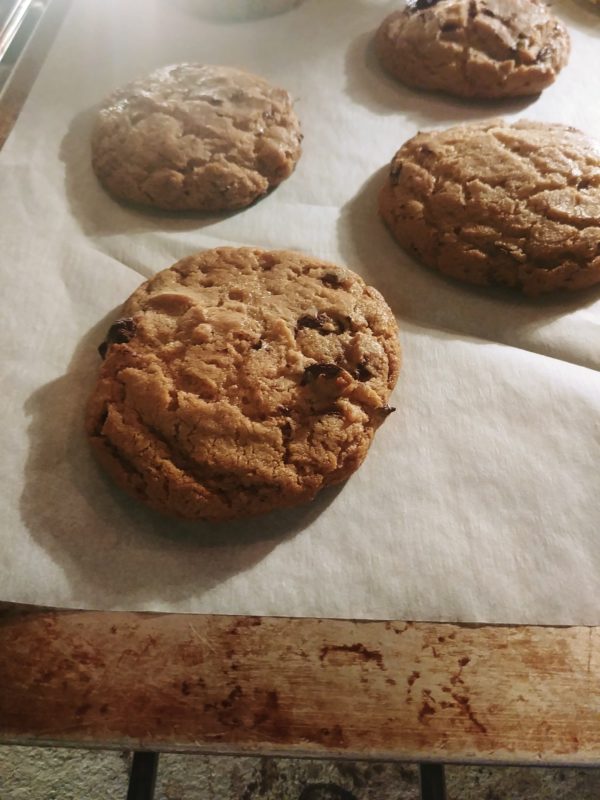
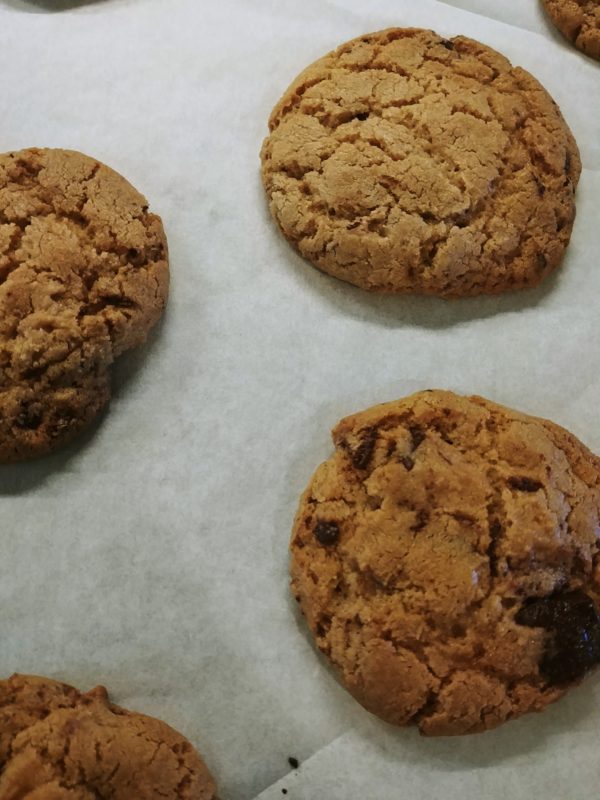
Everyone has a favorite right? This is mine. It was inspired by a recipe from Cooks Illustrated, but has been tweaked a bit. People warn new cooks not to play with baking recipes too much, because baking is chemistry. This is true, but there’s still a LOT you can do to make these cookies your own.
The chocolate you use is the soul of your cookie. I like to chop up a Trader Joe’s Dark Chocolate Pound Plus bar personally, to balance the sweetness. You can use your favorite chocolate chips, or your favorite chocolate bar. My mother likes Tazo chocolate, which has a gritty cacao element to it. You can even chop up leftover Channukah gelt, if that’s what you have.
The browned butter adds a distinctive flavor — it’s absolutely worth making a batch (you can store the rest for some time) but you can also just melt butter if you’re in a hurry. Let it cook for a minute so some of the moisture cooks off and carry on. The cookies won’t be as rich and nutty.
Choose additions: you can add pecans, walnuts, almonds, or even sunflower seeds if you like. I usually don’t add nuts because I like my chocolate chip cookies tender with melty spots (and because I’m allergic to walnuts, which are the BEST choice for chocolate chip cookies. Sad, but true.)
Add some spices: add a little cinnamon, or some chile (not chili powder, which is a blend!), or get creative with something like cardamom or allspice. Just eat a bit of your chocolate with the spice and see what you think.
Vanilla is a KEY ingredient for chocolate desserts. A large portion of our sense of “chocolate” is actually “vanilla”, but if the real stuff is too expensive, consider using rum or Amaretto or another chocolate-friendly option instead of fake vanilla. Extract is largely alcohol, so you’ll have the same baking effect with a different flavor profile.
Finally, if you like cookies chewier, cook them a little less or add another egg yolk. If you like them crisper, swap some white sugar for more of the brown and leave out the molasses.
These are MY favorite chocolate chip cookie recipe — have some fun developing your own!
NOTE: you can also freeze this dough as ready-to-bake balls, or in a stick that you can slice disks off of. When you want to cook them, lay out however many you want on a cookie sheet when you turn on the oven, and pop in when it’s heated. You might need an extra minute or two of cooking time. Whether this is a great idea or you curse me for telling you that fresh warm chocolate chip cookies can be yours ANY TIME is a judgement call…
| Prep Time | 30 minutes |
| Cook Time | 12 minutes |
| Servings |
dozen
|
- 1 lb Butter
- 14 Tbsp Browned Butter (warm or cooled)
- 1 C Brown sugar
- 1/4 C White Sugar
- 1/2 tsp salt
- 2 tsp vanilla
- 1 egg
- 1 tsp molasses OPTIONAL
- 1 3/4 C All Purpose Flour
- 1/2 tsp baking soda
- 1 C chocolate bits
- 1/2 C nuts OPTIONAL
Ingredients
Browned butter
Liquids
Dry ingredients
|

|
- Brown butter takes a while and stores well, so I usually make it a pound at a time. Feel free to only make 14T of it if you prefer. If you like less salty foods, use unsalted butter here. If you love things like salted caramels, you can use salted butter -- the parts that drop and brown will be salty and savory!
- Melt butter in a heavy saucepan over medium-low heat until it bubbles and solids rise to the top. If you're in a hurry, cook until the steam slows and proceed with the recipe. You'll have less nutty flavor.
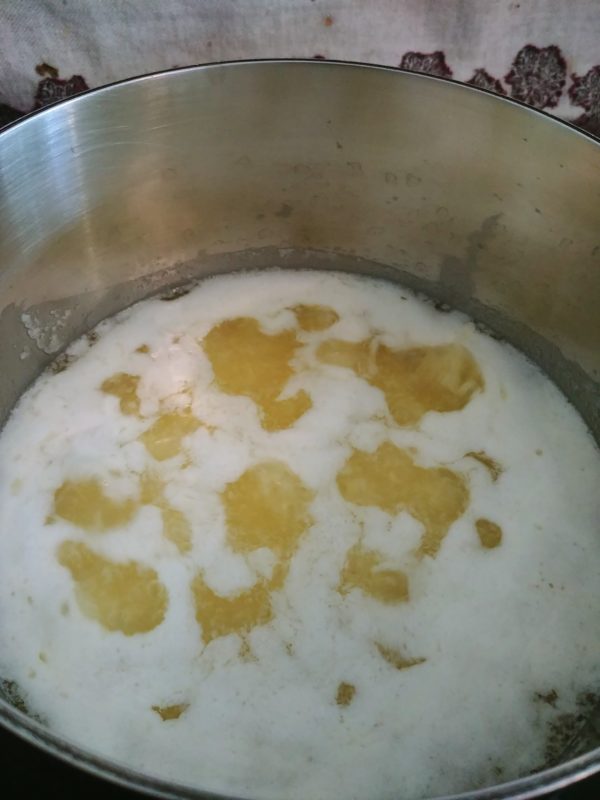
- Continue cooking until the solids sink and you don't see steam rising any more. Butter has water, which you are removing with this process, and solids, which you are caramelizing to give the cookies a rich nuttiness. Reduce heat slightly to prevent scorching, and swirl the pan periodically. If bits look stuck, scrape them loose with a spatula. Your goal is to prevent scorching.
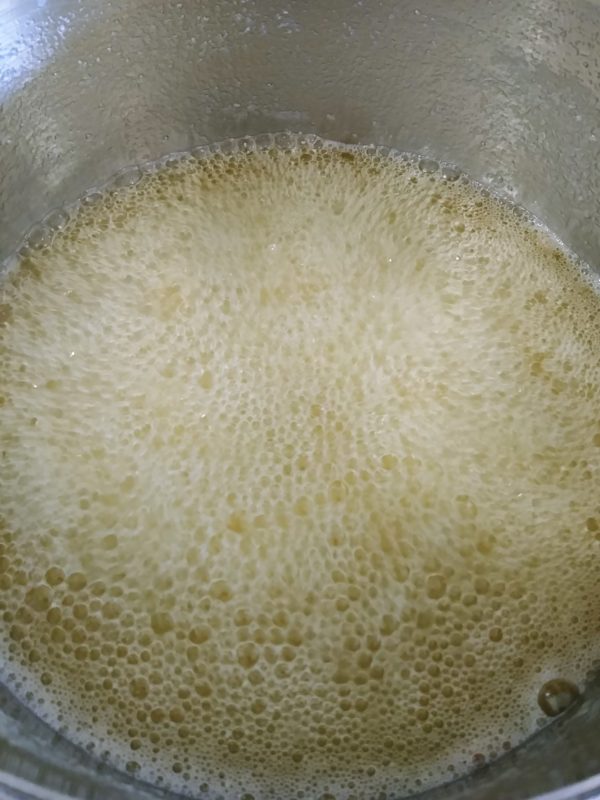
- When the solids and butter take on a darker tone, you have browned butter! You'll use about half of your batch in the cookies. The rest can be saved for another time, or used on pasta. You can store for at least a week at room temp, or indefinitely in the fridge or freezer. Be sure to seal tightly to avoid absorbing odors.
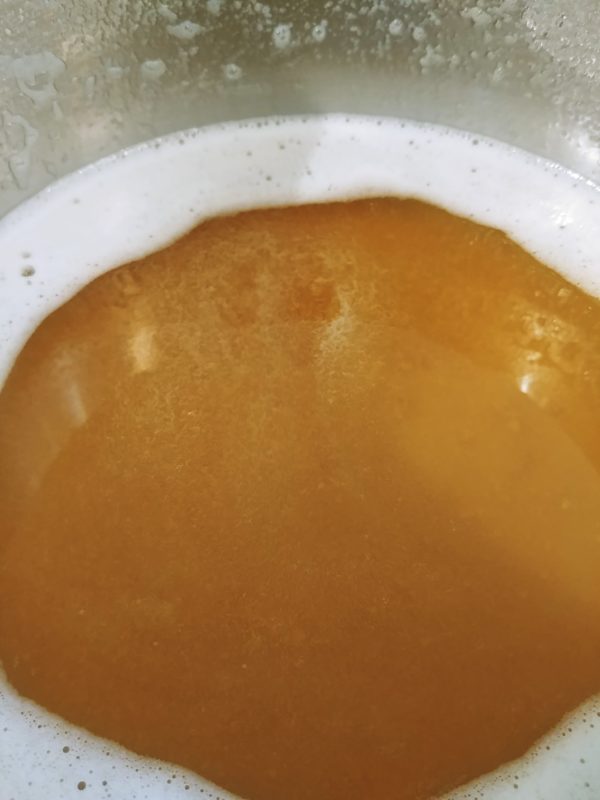
- Preheat Oven to 375 degrees.
- Stir browned butter (including sediment) into sugar, then add other "liquid" ingredients. Beat together for 30 seconds. Let the mix sit for a few minutes, then beat for another 30 seconds. (If you have a stand mixer, this is a good time for it!) If you feel the mix, the sugar will feel gritty.
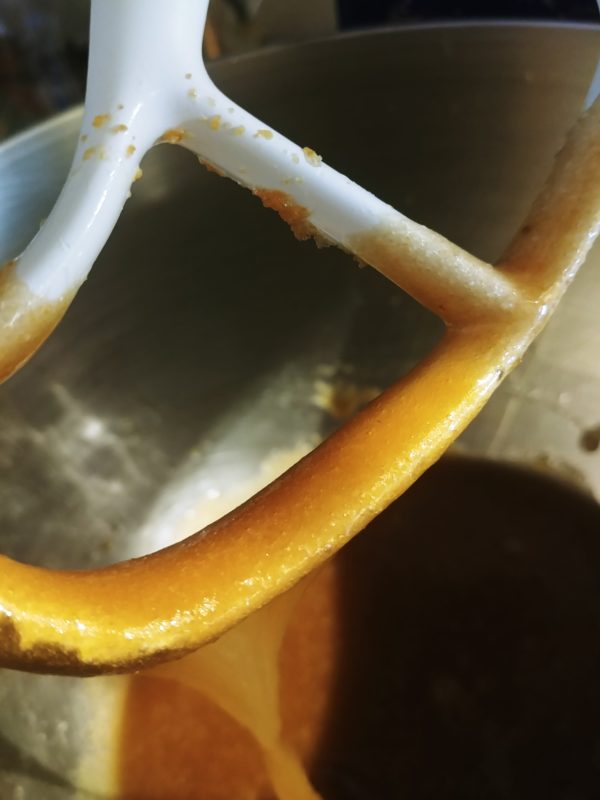
- Continue with the mix/rest cycle until you get a thick glossy result. It's should remind you of a warm caramel, and taste WONDERFUL. (Don't eat raw egg if you're health compromised.) If it's not completely cool, let it sit until it is (otherwise you might melt your chocolate too soon!)
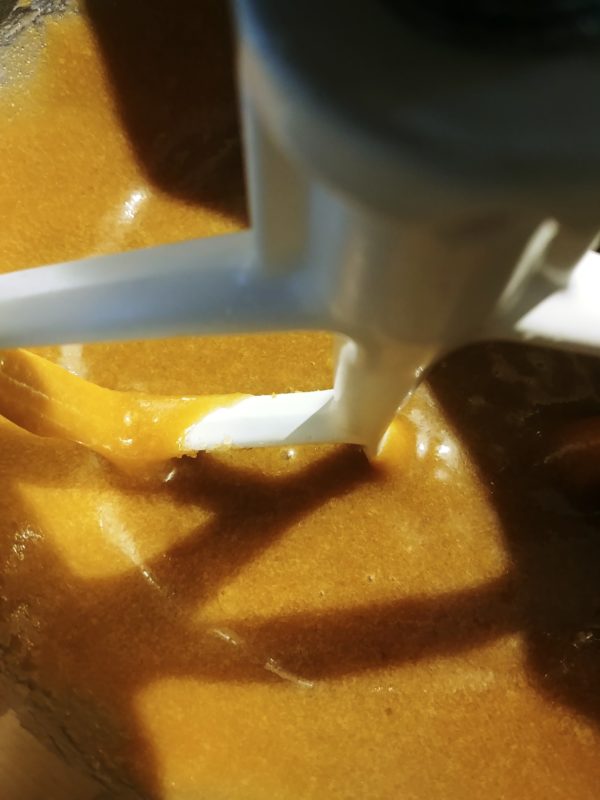
- Stir flour and baking soda together. Pour into bowl with liquids and mix briefly, just to moisten. Some flour can remain visible.
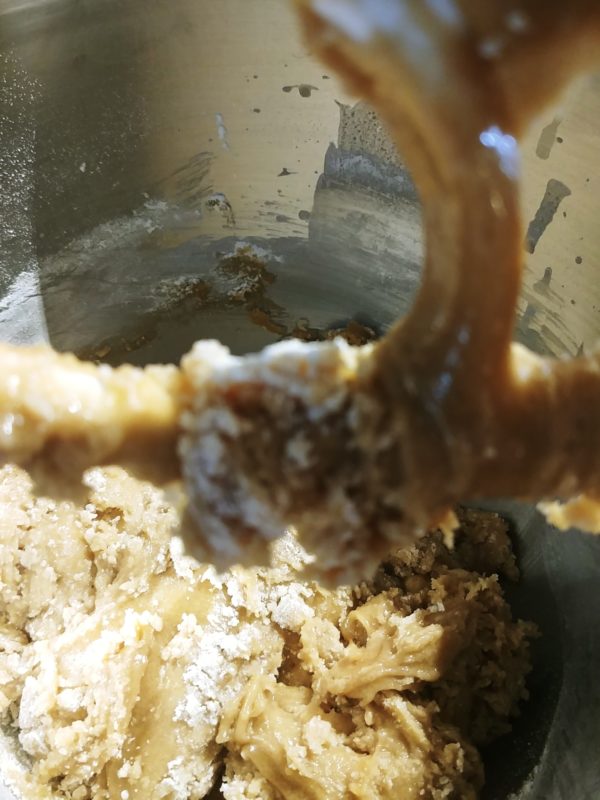
- Pour in chocolate (and nuts if using) and mix briefly, just until incorporated.
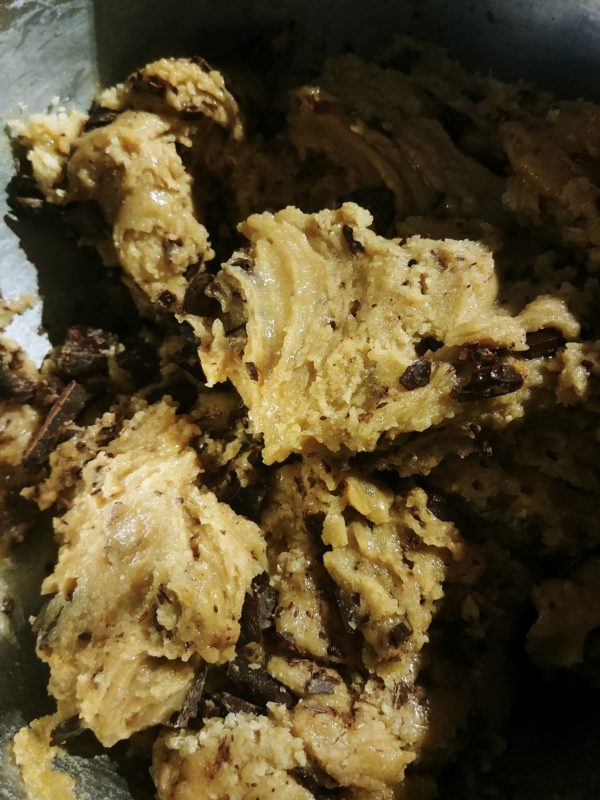
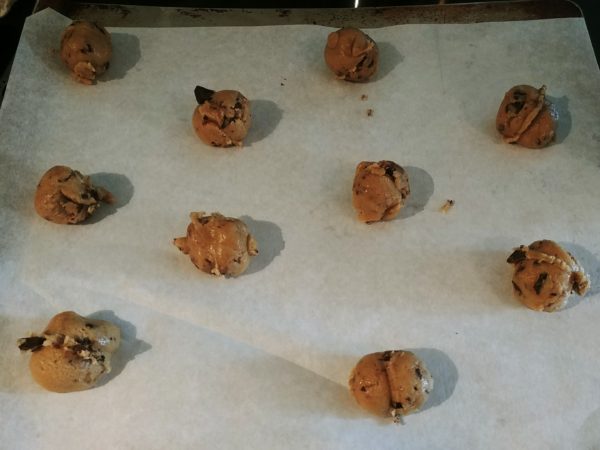
- I like to use a small scoop for easy consistent sizing. Mine is about 1.5Tbsp, but you can simply scoop or roll balls of dough to any size you like. Larger balls make impressive cookies with a nice chewy center. Stagger on your cookie sheet with room to spread. I like to use parchment from King Arthur, but you can use a silicone mat, or just bare cookie sheet. You don't need to grease it.
- Bake for 10-14 minutes, depending on your oven, how you like your cookies, and how large they are. (For really big cookies you might be closer to 20 minutes!) You want to pull them out when they're JUST past puffing, and starting to fall again. This is JUST before they're ready.
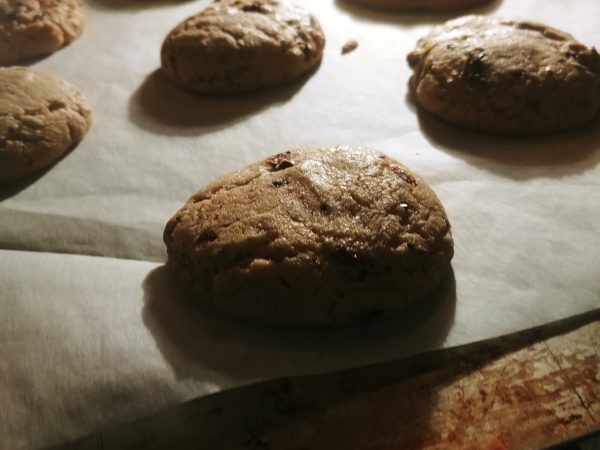
- And this is just perfect for how I like them. You might like them a bit less done, or a bit more done.
